soporific
Over the past year or so I’ve been learning to use Bevy1 so that I can make my own little games for fun. Bevy is a rust framework with a plethora of features that makes game development fun as it allows me to quickly prototype and experiment different ideas. So far the target system for these ideas have been a desktop computer / laptop given the ease of building and distribution for these platforms; especially given the cross-compilation features of rust. However, I’ve since become interested in developing games for mobile given that most computer usage (online at least) is via mobile phone2. Bevy’s examples on GitHub demonstrate that the framework can be used to successfully build and deploy a rust application to a mobile device3,4. This makes Bevy an ideal choice for game development given that it can successfully generate applications for PC and mobile. In order to practice developing mobile applications I had the idea of remaking a previous project in Bevy so that I could familiarise myself with the build and release process. For this project I specifically stuck with iOS and Apple’s App store, as I’ve been an iPhone user across various handsets for the past decade.
Concept
The original Pink Rain project was conceived as an art piece; a computer simulated downpour scene. The downpour is accompanied by pink noise that is generated using the Voss-McCartney algorithm5. I have written previously about this project and the archived source code is available here.

Pink Rain v1.0 rain simulation.
Getting started
The first steps were to rewrite the Pink Rain project using Bevy and to use this as an opportunity to improve the visualisation. I made the following changes:
- Added controls to Start, Pause and Stop the simulation (designed by my partner).
- Timer mode (with controls) to stop the simulation after a set time period.
- Replace rectangles (rain drops) with hand illustrated sprites (courtesy of my partner).
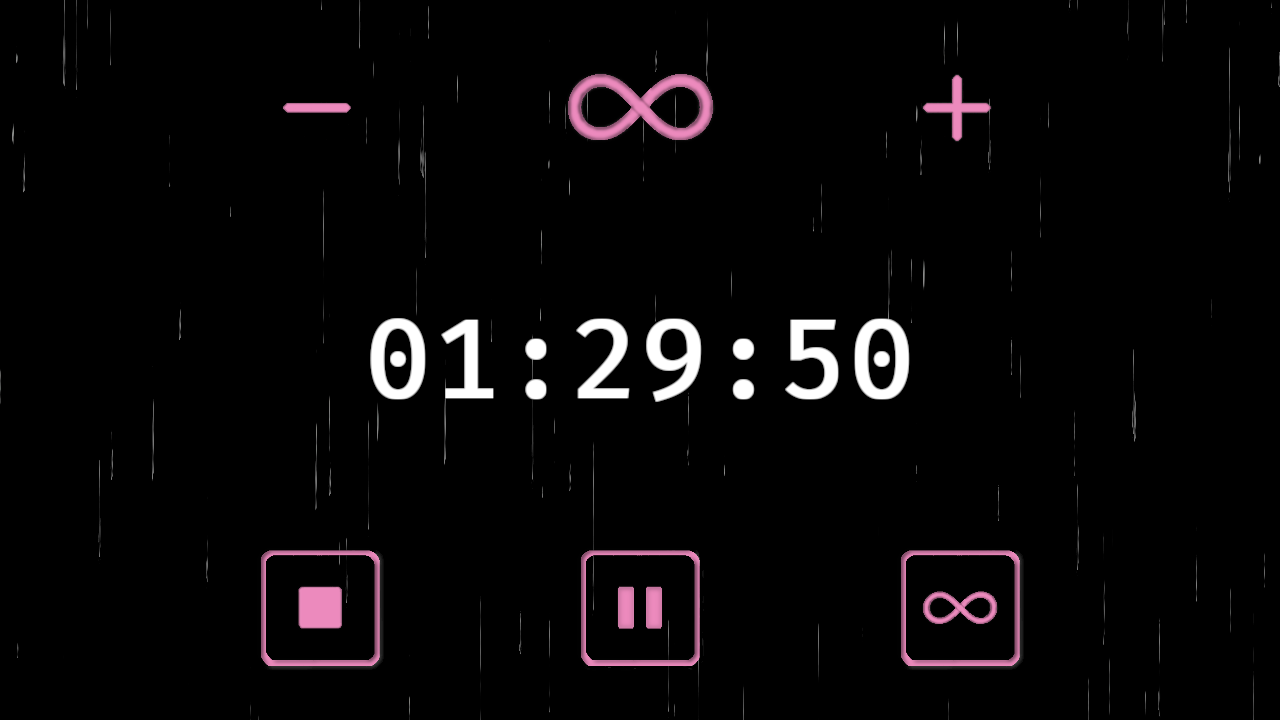
The result was a rain simulation app with some simple controls to make it more functional for an end user.
Soporific running on Arch Linux
With a working desktop version the ‘easy’ part of the project was complete. The next part was to get the application working with xcode so that targets could be compiled for iOS.
Integrating with xcode
I spent plenty of time studying the mobile example3 included in the Bevy repository as well as Pull Request (PR) #147804 in order to understand how to get the application building for iOS. The PR in particular had
a lot of useful information for how to get xcode to use binaries that have been built using cargo. After a bit of huffing and puffing along with studying the aforementioned mobile example I finally managed to get my application working using the iOS simulator.
Testing with simulator
The simulator was incredibly useful for testing and profiling the application. While testing I noticed a memory leak present that was not evident when testing the desktop version:
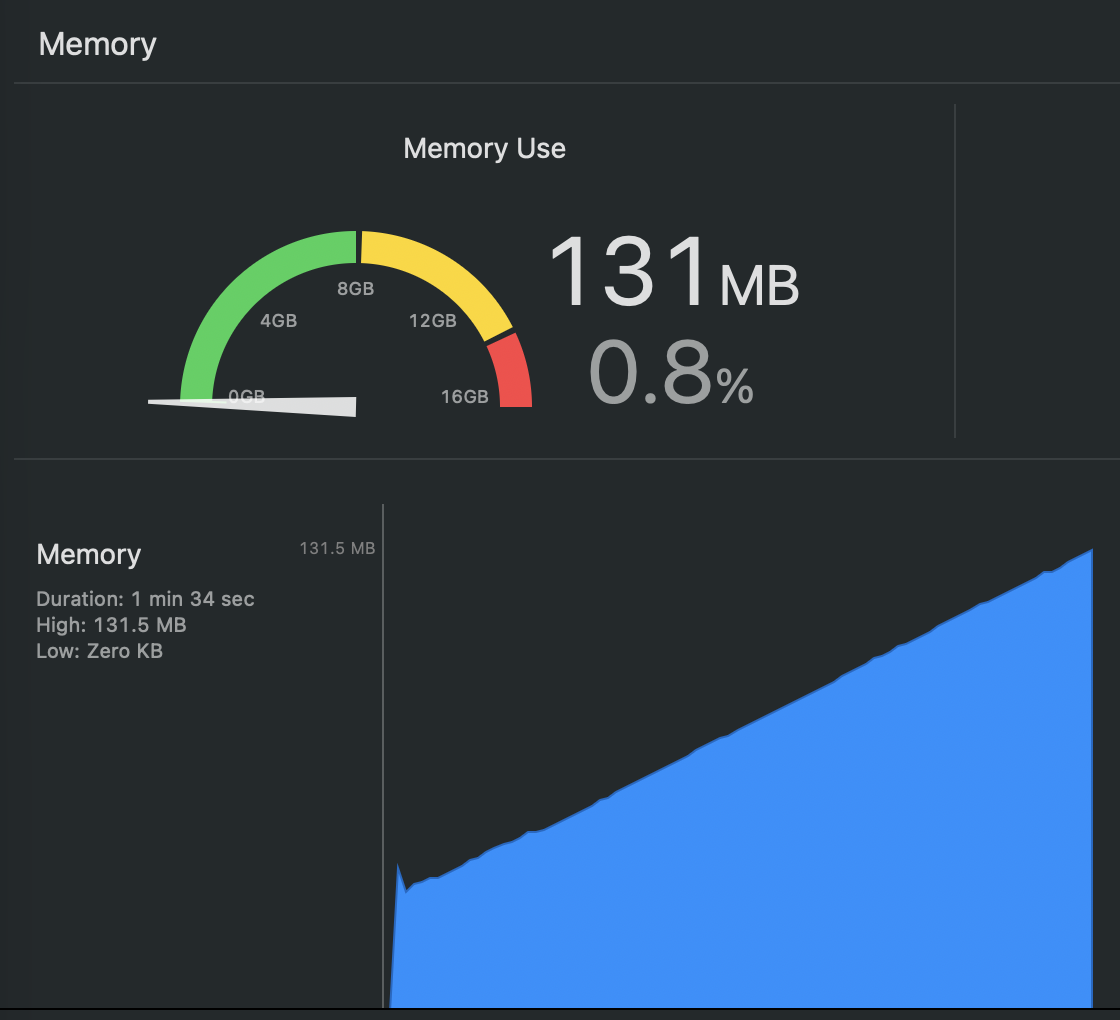
Memory usage when debugging Soporific on the iOS simulator.
After doing my own investigation I decided to create an isolated example and raise a bug on the Bevy GitHub repository6. While the root cause is still not defined, I managed to mitigate the issue by replacing the Mesh2d components with Sprite components. This ended up being a blessing as the hand-illustrated rain drops look a lot nicer than the plain rectangles that were generated previously. I also changed the app so that a set number of rain drops were spawned at start up and reused, replacing the repeated spawn -> despawn cycle that was implemented previously.
Testing on target
For testing on target I used my personal iPhone 17 that was connected to my Macbook Air M4 via USB-C. With satisfactory behaviour on the simulator I naively assumed the application would run the same on target; for the most part it did. However, a crucial difference was identified: namely that the audio would stop when the app was minimised or the phone locked. In the simulator the audio would continue playing under these scenarios. It was anticipated that an end-user may want to use the app for background sound, so it was crucial that the audio continued to play when the app was no longer in the foreground. After extensive web searching I found that in order to fix this I needed to configure the AVAudioSession7 category to AVAudioSessionCategoryPlayback8 which is described as follows:
“The category for playing recorded music or other sounds that are central to the successful use of your app.”8
Browsing the cpal (Cross Platform Audio Library9) examples I could see it was possible to configure the AVAudioSession using Swift or Objective-C10. Given that I already had my application working entirely in rust I wanted to find an alternative approach. The solution I settled on was using the obj2 crate11; which allows the developer to interface with objective-C Objects using rust. I’ve created a GitHub Gist here with the resulting code that configures the AVAudioSession using obj2. Upon configuring the category to AVAudioSessionCategoryPlayback the app would continue to play sound when the app was minimised.
Handling screen orientation
Smartphones allow the user to have different screen orientations and the app needed to support this. My solution was to have a system called resize_handler whose sole job was to detect changes in resolution and to emit a StateEvent::Resize event to the global state machine:
fn resize_handler(
    mut state: ResMut<GlobalStateMachine>,
    window: Query<&mut Window>,
)
{
    /* Get current window dimensions */
    let w_dim = window.single().unwrap().resolution.size();

    /* Has x-axes or y-axes changed? */
    if w_dim.x != state.dims.x
        || w_dim.y != state.dims.y
        {
            /* Update dimensions stored in the state machine */
            state.dims = w_dim;

            /* Emit a resize event to the state machine */
            state.emit_event(StateEvent::Resize);
        }
}
The state machine’s event handler receives the StateEvent::Resize event and scales the simulation graphics as appropriate.
Launch screen
The app’s launch screen was one of the most frustrating parts of the development process; namely using the Storyboard editor in xcode. This12 tutorial was extremely helpful in getting a basic Launch Screen working when the phone was in portrait. However when starting the application in landscape it still uses the portrait image, resulting in a misshaped and distorted graphic. To fix this I found some Stack Overflow posts13,14 that explained that to fix this I needed to add a variation to the launch screen:
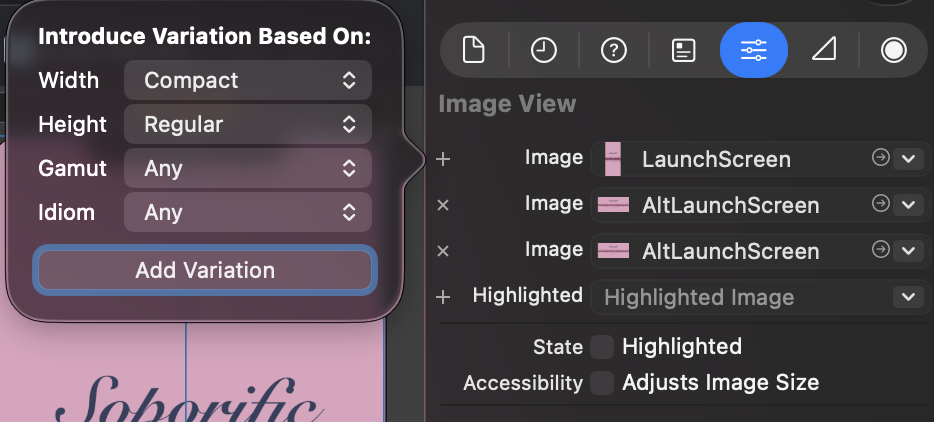
Add variation to Launch Screen storyboard
With the variations in place (and lots of testing with my phone at different angles) the correct launch screen was in place for the given orientation.
Submitting to the App store
Once I was happy with the app I submitted it to Apple’s App store. The store mandates that the app has a privacy policy and support contact amongst other info. I created a basic page here containing all the relevant information.
End result
A day later the app was approved and went live on the app store. The app’s store page can be accessed here. Not long after going live I had to fix a minor (but nonetheless noticeable) bug which resulted in another submission and another approval before it was pushed to users.
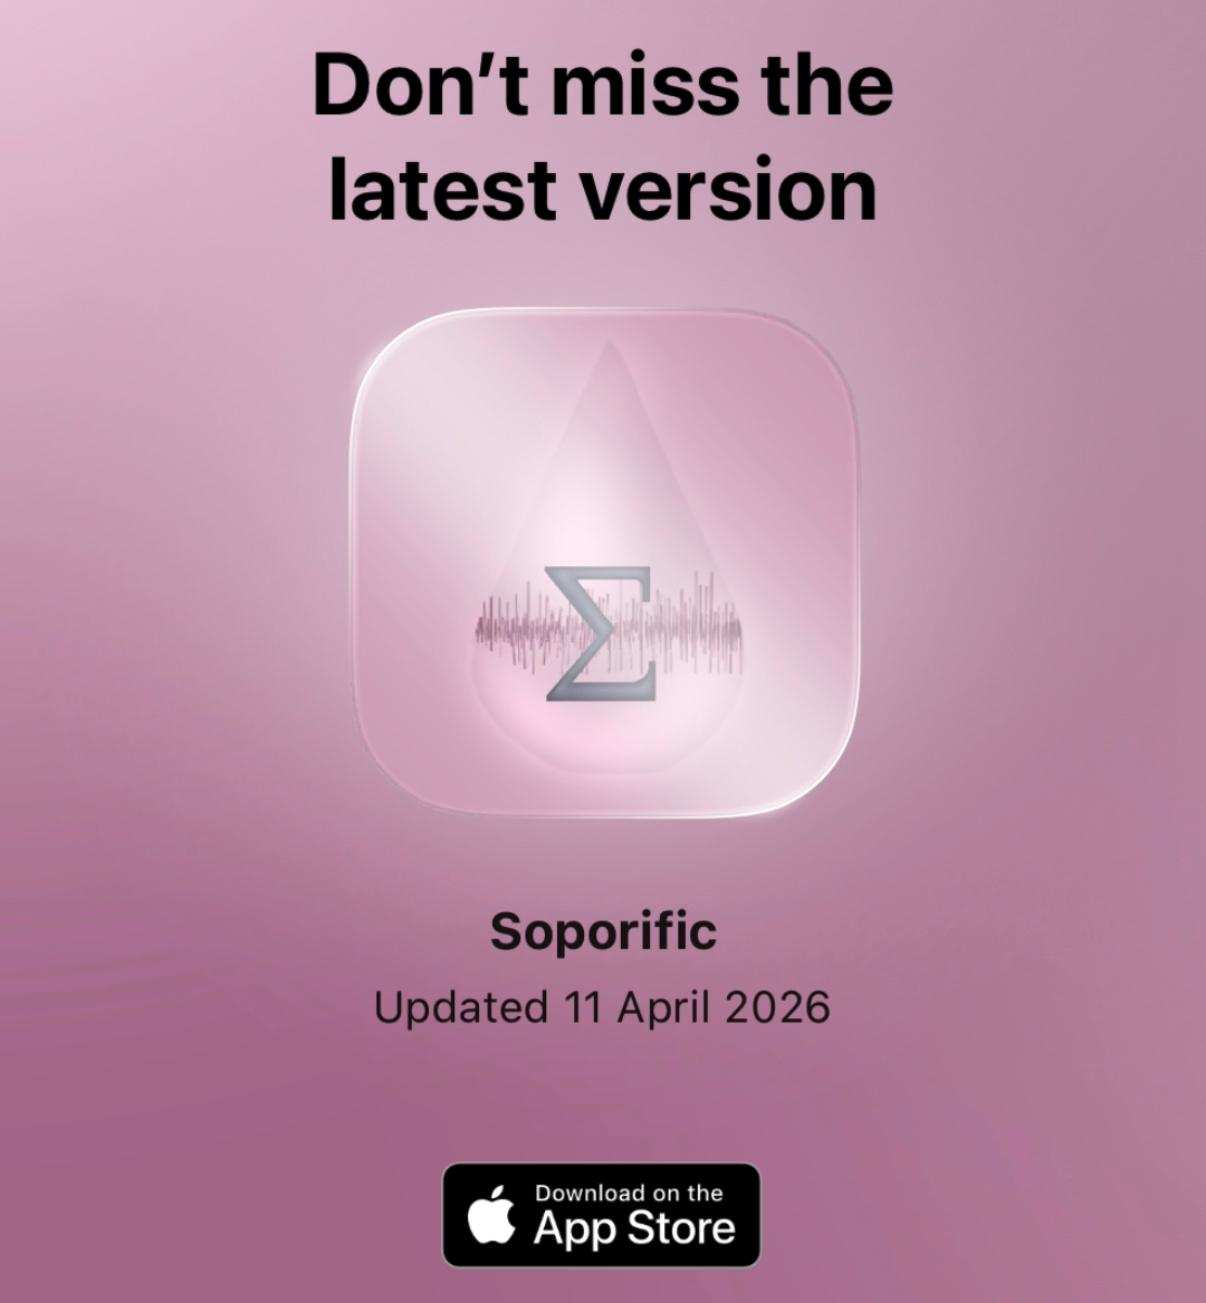
App Store graphic for Soporific
The end result is a functional yet simple rain simulation app that runs on an iPhone. I intend to add additional features in a future update such as custom EQ as well as an iPad build. Getting Soporific to distribution on the App Store was an excellent learning experience and I’m no longer intimidated with development for mobile targets!
Special Thanks
I’d like to thank my partner Mikaella for designing the graphics used in this project and for her additional brainstorming, love and patience.